I don't have any pictures of the oil change unfortunately because it was rather messy and I couldn't take pictures at the time. I'm not sure how my engine kept running. Keep in mind, all the work that I am doing is on the stone driveway you see in most of the pictures. Jack stands don't work well either. There was a time my car nearly took my head off but I'll get to that story soon.
Anyhow, I pulled the plug and the oil that is supposed to steadily drain out kind of glopped out. Little bit of draining, glop! Little bit more of draining, glop, glop! It also stopped coming out particularly fast which I was uneasy about. So I took a flat head screwdriver and stuck it in there. There was a lot left in that oil pan. So here I am under my car reaming a screwdriver in and out of the oil pan to get all this sludge out. About 15 minutes and a very sore arm later, it seems that there is nothing left in there. So I now unscrew the oil filter and get that off. It looks like this hasn't been changed in a while either. Now considering the way the oil drains to the pan in this engine and the angle of the oil filter, I leave the filter off for a few moments. I screw the drain plug back in, and I pour 2 quarts of fresh oil in it. By the time I manage to craw back under my car and wiggle up to the oil pan, I am pretty sure that the oil has settled to the bottom. So I pull the plug and let the oil drain again. Apparently it was a good thing I got a couple extra quarts because a couple more blobs of sludge were still in there and came out with the new oil. At this point I am pretty sure 95% of the sludge is out of the engine. I say 95% because I cant exactly work all of the oil and sludge out of the internals of the engine, just what is in the pan. So I put the drain plug back in, swirl fresh oil around the gasket of the new oil filter and put that on, then climb out from under the car. I fill her up with oil and that part is finally done. Yea, a typical 15 minute oil change took me about an hour and half. Never thought you would hear such a long story about an oil change did ya?
My next project to tackle at this point was the spark plugs. Now everyone should know that you are actually supposed to replace these more often than you would think. Its about every 15,000 miles or for the average person, once a year. Not if you are me, I can put that many miles on in a couple months. Luckily the spark plug change was fairly easy, so this part of the story just comes with a picture. Enjoy the story.
.jpg)
Click on image for larger view.
The next bunch of fun was that lovely air intake. Ah yes, lets place the filter to pull in air right next to the front of the engine and back of the radiator to pull in the sun's worth of heat. Now I decided I wanted to keep the cone filter because with a proper set up, it can be a little better. You don't have to change these at every oil change and its typically easier to access. Now I found the plastic piece that goes from the intake elbow to the stock air box. The only problem was the filter didn't mount onto the plastic piece this way because it was too close to the radiator still. Luckily I horde car parts and had a few intake pieces laying around. I found an old cavalier 2.2l intake hose that seemed to have the proper fitting on 1 side for the oval shape of my throttle body, plus it was a long hose. So I put a hole in it for the crankcase vent pipe, and mounted it up to the throttle body and the plastic piece at the other end. The filter then went on perfectly and the air temp sensor plug still reached. The air temp sensor was the same plug too, so I didn't have to fight with removal and re-installation. So here is a picture of how that came out.

Click on image for larger view.
Oh, let me explain that little white wire you see wrapping around a few things. I was very short of wire and fixed it a few days later, but that goes to the radiator fan. The Camaro was set up to overheat basically and I've done a lot of work to correct this. The radiator fan isn't set to come on until 215 degrees, which if you are saying, "Ok, what does that mean?", I'll explain. On a typical gauge for coolant temperature that you see on your gauge cluster, there are 3 marks. Above the 3rd mark to the end of the gauge, a little section is red symbolizing your car is overheating when the needle reaches that point. The average point for the needle to sit is right in the middle at that second mark or 195 degrees. At 215, my needle hits the 3rd mark and it should never need to go past the second. The Camaro doesn't have a functional grill and can only be air cooled by a little 4 inch scoop under the car that redirects air up in front of the radiator. So when you are in traffic, the Camaro is anything but happy. So I cut the wires right at the plug, grounded out the 1 side and hooked the other side to a fuse for the windshield wipers. This fuse only has power going through it when the car is turned to accessory or in the on position but cuts the power when the car is off. So every time I turn the car on, the fan kicks right on and I don't have to worry about sitting in traffic now. This also doesn't interfere with the wipers operation. As for the other methods of keeping the Camaro cool, I will explain when I get to that point in the project.
Now I decided that Sydney deserved a little cleaning up and the chance to accessorize a little bit. Not only did I thoroughly clean the outside and inside of the car, but I spent an hour on the engine bay as well. I won't get into too many details, the pictures can tell the story for me.

Click on image for larger view.
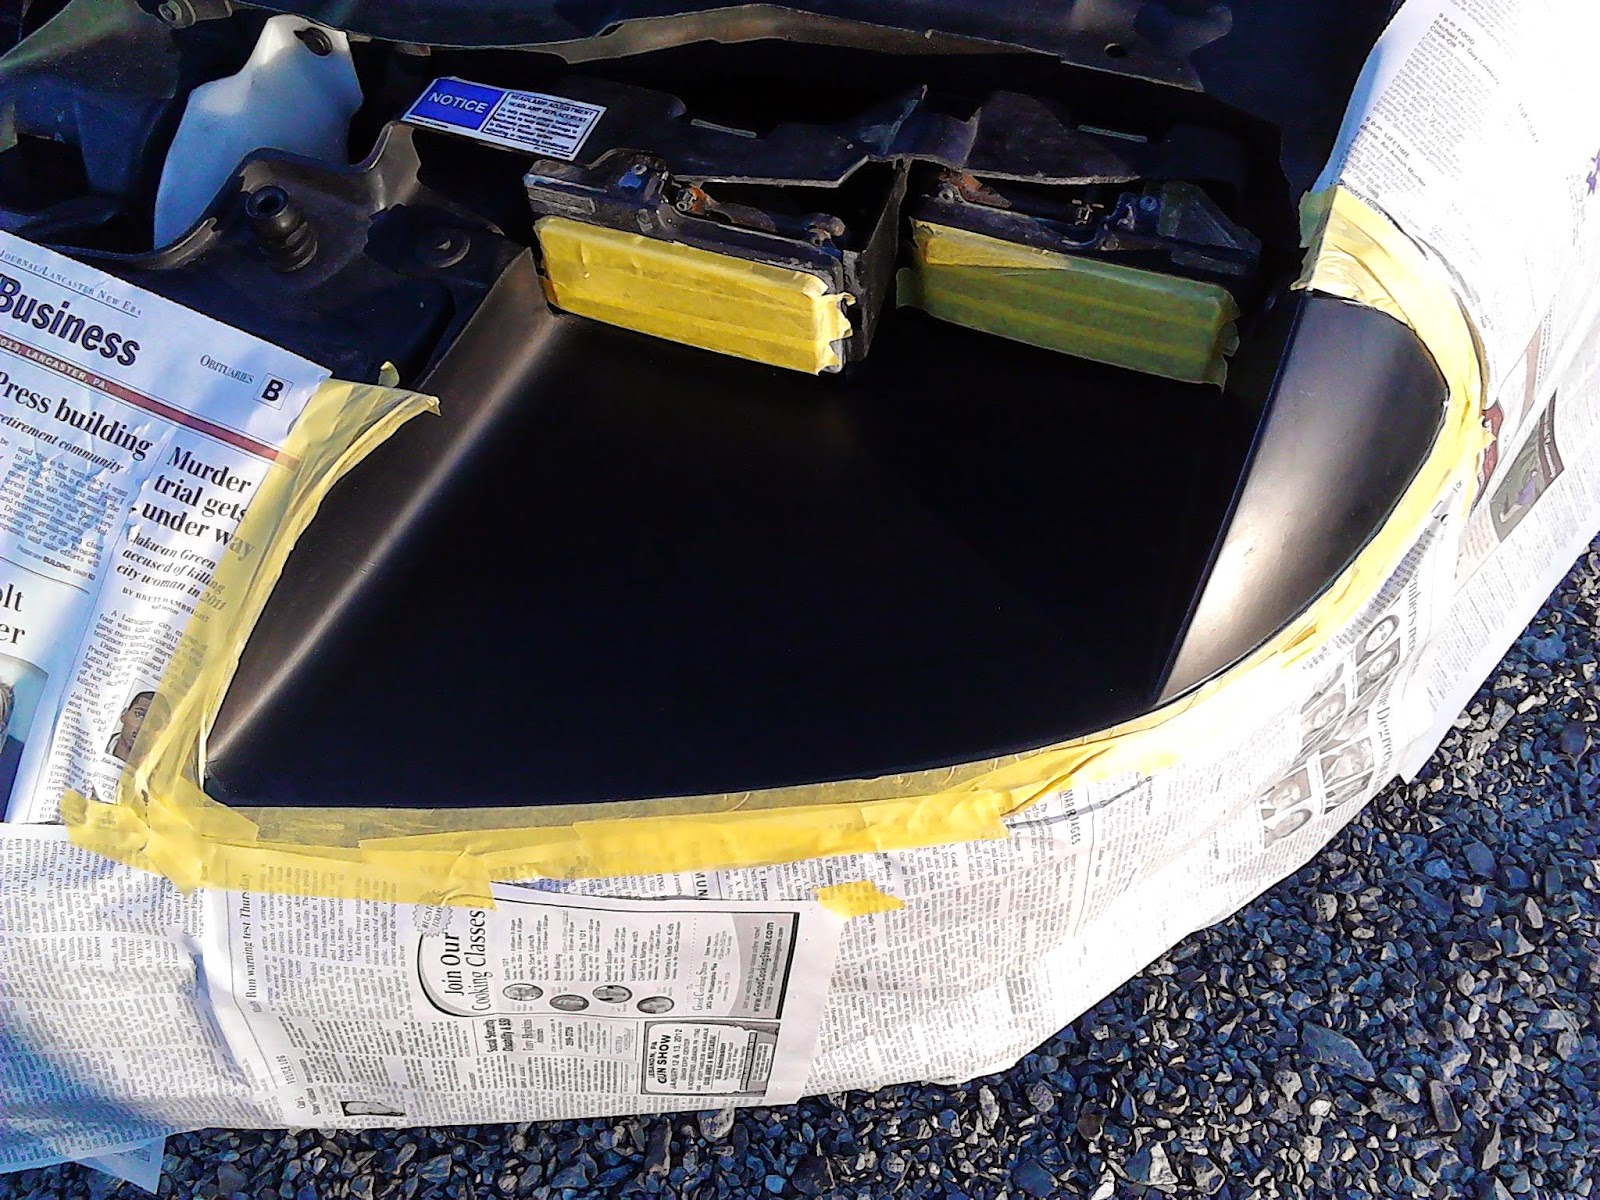
Now for the glam came a nice little accessory and a make over. I added a Chevrolet steering wheel cover for the accessory which was just the touch it needed. I also found 3 out of the 7 pieces of the RS lip kit in the junkyard magically. It is a very hard to find the accent lip kit that has 4 pieces going around the bottom of the car, and 3 pieces on top of the cars current spoiler. It is mainly so hard to find because the real pieces were only made in 1 year for this particular body and it was only 1 of 3 options of Camaros. If you want to get really technical, the RS kit was an option of the base coupe Camaro. So you had to ask for it, they didn't even originally sell them that way. So I managed to find the spoiler pieces. They were a different color than the car so for right now I just sprayed them down flat black and put them on. At this point, I figured I might as well start the RS look process by creating the stripes that are always found on a true RS Camaro. So I taped up the hood, the rear deck, as well as the headlight area and door handles for touch up purposes. Now at first I was going to paint the stripes on the rear deck straight into the lip kit but looking at it didn't seem right. If the lip kit was the same color as my car, that's typically how it would go. Only the lip kit is black and the RS stripes are black. So I decided to bring the stripes into the lip kit gradually with a curve and it turned out great. I also managed to stop the stripes under the spoiler at the right spot so you can't see the stripes when looking at the car from the back, which again is the true RS look. For the front, most people just paint the stripes to the end of the hood and call it a day. I am going for the best look possible on my $5 budget here, so I bring the stripes down onto the bumper and align it with the headlights and curve it off like it should. I also repaint the headlight area that was dingy and fading, along with the scratched up door handles. The only thing I found out after the painting is that the typical GM clear coat was wearing off and came off in spots with the tape as you will see. Otherwise, the added stripes came out pretty well. While painting I noticed the exhaust pipes were hanging uneven. I kid you not, I literally took a bunch of zip ties and tied up the one hanger in such a way that it was far enough from the exhaust that the plastic wouldn't melt, and was hidden so well that you would have to get under the car to see how it was being held up. To this day 2 years later, those zip ties are still holding up that pipe. So now picture time of that part of the project although I am sorry, there aren't pictures of the exhaust pipe right now but I will be redoing the exhaust soon. I will make sure to grab pictures before it comes off.

Click on image for larger view.

Click on image for larger view.

Click on image for larger view.

Click on image for larger view.
Click on image for larger view.

Click on image for larger view.

Click on image for larger view.

Click on image for larger view.

Click on image for larger view.

Click on image for larger view.
Click on image for larger view.

Click on image for larger view.
That concludes today's post, so keep checking in for the continuing project.
No comments:
Post a Comment
I welcome your feedback!